Best Guide on Blogging for Beginners
Here in this guide on blogging for beginners, I will show you how you can build a successful blog step by step, and I will give you some tips the pros use to build a successful blog!
Okay, but what if I just want a website for my business and not a blog?
No worries! The steps I will go over will work for blogs and business websites.
I know… I know… You most likely have seen posts on every blog telling you how to start your own blog.
So… what is different about this one?
The difference is that I will tell you why you should start your own blog/website and exactly how you should do it, and all the tips and tricks used to build a successful brand.
Now let’s start your blogging for beginners guide!
Should You Start a Blog Or Website?
Well… it depends.
Are you looking to create content or start a business?
If you answered yes to any one of these questions, then…
Yes, you should absolutely start a website!
Why?
Well, there are multiple reasons. Let’s break this down into two different types of people:
The Business Owner
As a business owner, you are trying to sell customers some type of product or service.
Now you can do this by opening a store somewhere and waiting for people to come in, but as of writing this, it is 2018.
So…
You need to have an online presence!
You have to build your brand online, you need to market and sell your product or service to an online audience.
“Okay, but I can open an Amazon store, eBay store, sell on Facebook Marketplace, or all three. So why do I need a website?”
One word control (I’ll dig deeper into this soon, so stick with me).
Content Creator
As a blogger you will need to have your own blog, right? Yes, but there are platforms like Facebook, which has Facebook notes where you can essentially blog on.
Or blogger by Google, which is seen as a good free blogging for beginners platform.
What about video creators or photographers? Why should they have their own website when there are platforms like YouTube, Instagram or Tumblr?
You guessed it, control (I’m getting there soon).
Now I bet you’re saying “I’m ready to do this thing!”.
Where Do I Start?
There are many platforms which you can start your website on, to make it simple check out this awesome Infographic here or click the image below.
Many content creators including myself agree that WordPress.org is the best place to start your website or blog.
This can be done very cheaply with my Bluehost link, which gets you your own website with full control for only $3.95 a month!
Skip one coffee a month and build your brand, it doesn’t get easier than that!
Remember that whole idea of control? Let’s dig into it.
Control
As I said, there are many ways to share your content online or to share your product online.
For product selling, there are:
- Amazon
- eBay
- etc…
For content creation, there are:
- YouTube
- Etc…
But what do all these have in common? You do not have control!
Users are at the whim of these companies’ policies and procedures.
You don’t have control of any changes they make to their platform or if their platform dies out completely!
Now I know what you are thinking, “platforms like Amazon, Facebook, and YouTube are too huge to die out, so I have nothing to worry about.”
But you have to consider the possibility that these companies will not be around or at least not have the traffic or power that they have now in the next 10, 25, or 50 years.
For example, take the YouTube stars Jenna Marbles and Dude Perfect.
They both amassed a huge following on many different social media platforms but Jenna Marbles has her own blog and Dude Perfect has their own website.
They are creating a brand that can last.
Even though they are based mostly on YouTube, they have their own platform where they can shift the attention and content if they need to.
Remember, you are trying to build success for the long-term, not the short-term.
And the way to do this is to simply have your own website.
Like I said before, WordPress is the best way to do this.
Let’s look into these simple steps in this beginner’s guide to blogging!
Getting Started
First, you need to get a host for your website.
This just means that you pay a company to use their servers to keep your website on and Bluehost is my top choice for beginners.
I use them for this blog and haven’t had any issues.
For now, when you are just starting out, stick with shared hosting and the basic plan, which is only $3.95 a month when you use my affiliate link!
Also, when your site gets more traffic, Bluehost will scale with you to keep your site performance running smoothly.
If Bluehost doesn’t work for you, other hosts I recommend are HostGator, Siteground, and InMotion Hosting. All plans start at under $5.00 a month!
You can see the pros and cons of each host here or click the image below.
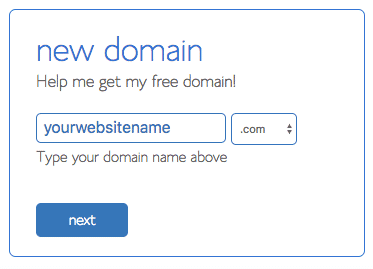
Cool, now that you picked the plan, you need to choose a free domain name if you don’t have one already.
If you have a domain name already through GoDaddy then check out these steps on how to link it to your Bluehost site.
Tips on Picking a Domain Name
Now, if you already have a business, then use your business name as the domain name, simple.
Just make sure you try to get a .com domain which is the best known.
Other well-known ones are .org or .net
If you have no clue what your domain name should be, then here are some tips:
- Make it relevant to your business, for example, if you’re creating a website that sells pet toys you would try to get a domain like pettoys or toysforpets.
(this helps search engines to better understand what your site is about, and it also helps people to find your site). - Keep it short, no more than 10 characters.
- Don’t put any numbers or special characters, it confuses visitors.
- Make it easy to type and pronounce.
- Research if anyone is using this name for anything else, such as social media accounts.
- If you have a word you definitely want to include in your domain name, use domain name generators to find available domains with that word:
Nice! You got your domain name, now to complete this process.
Payment Screen
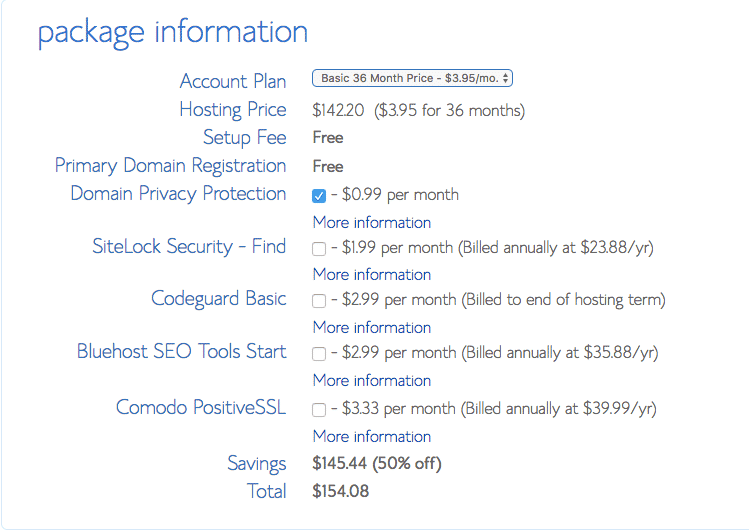
You will now be at the dreaded payment screen but don’t worry it isn’t that much money if you think about it. The best option is to select the 36-month plan, more bang for your buck.
Uncheck the SiteLock and Codeguard options. There are free WordPress plugins that can give you these features.
But do keep the domain privacy protection. This is to keep your address from floating around the internet. $1 a month won’t hurt you.
Important to note that you will have to pay for the full 36 months at one time, so make sure it fits in your budget.
Now after you pay up, you will see a screen to create your Bluehost password. Make it really secure!
Then click login, and we move on to getting WordPress set up.
Installing WordPress
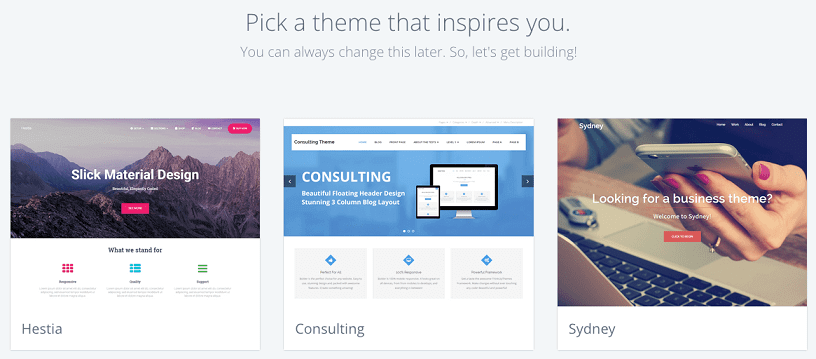
You will have to pick a theme. At this point, you can pick any theme, and you will be able to change it later.
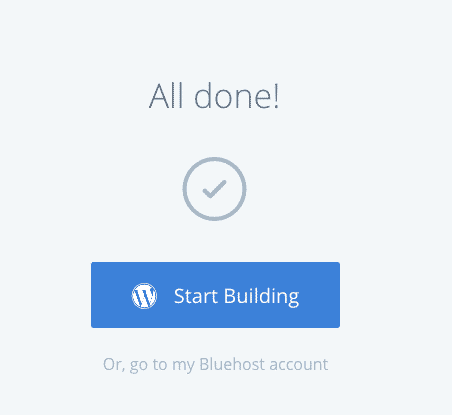
After picking your theme, you will be at this screen, just click start building, and we’re onto WordPress!
Now for the part you have been waiting for – WordPress setup
Now you will be logged into your WordPress admin site.
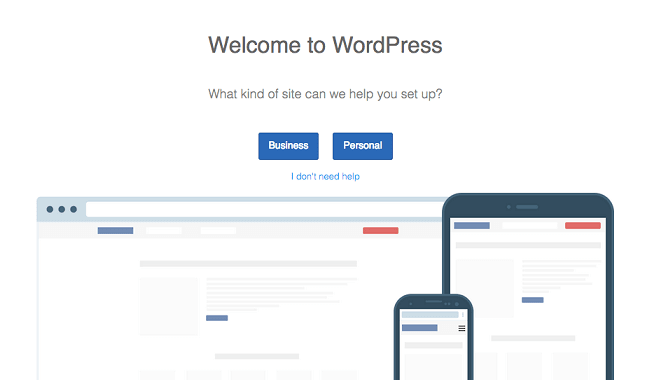
Bluehost will provide a walk-through guide to help you get started; go through these, and choose the options to the best of your knowledge, don’t worry, you can change all these later.
After this setup, it will ask you to customize your site, but don’t do that just yet.
Leave WordPress open, open a new tab, go to Bluehost, and log in if you have to.
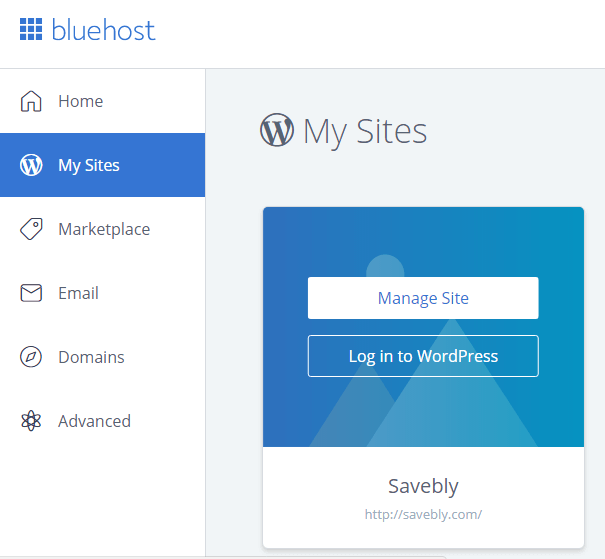
When logged into Bluehost, go to My Sites and click Manage Site.
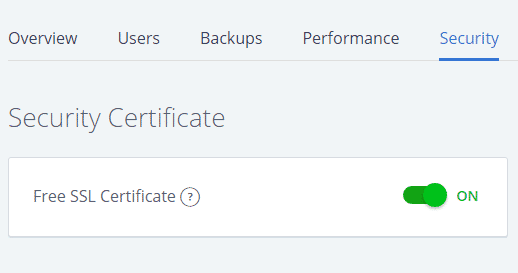
Then click on the security tab and you will see the Free SSL switch and it will be off, so you just have to switch this on.
It will take about 30 minutes, but it can take a few hours to activate. Anything longer than a day, then you should contact Bluehost support for assistance.
You might get an email to confirm the SSL activation if so, confirm, and then your site will be secure and the Internet will thank you!
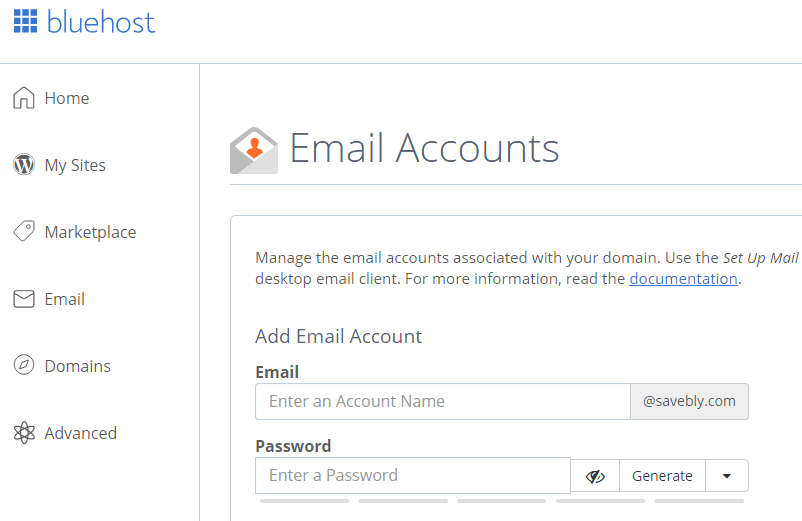
At this point, you can set up your email accounts by going to Email and then creating your email accounts.
Or, you can leave this for later. Remember, with this plan, you can only have 5 email accounts and each email account is limited to 100MB in mailbox space.
Moving on…
WordPress Customizing
Go back to your WordPress admin dashboard.
I know it looks crazy confusing but don’t worry, I got you!
These are the first steps you want to do when in the WordPress dashboard:
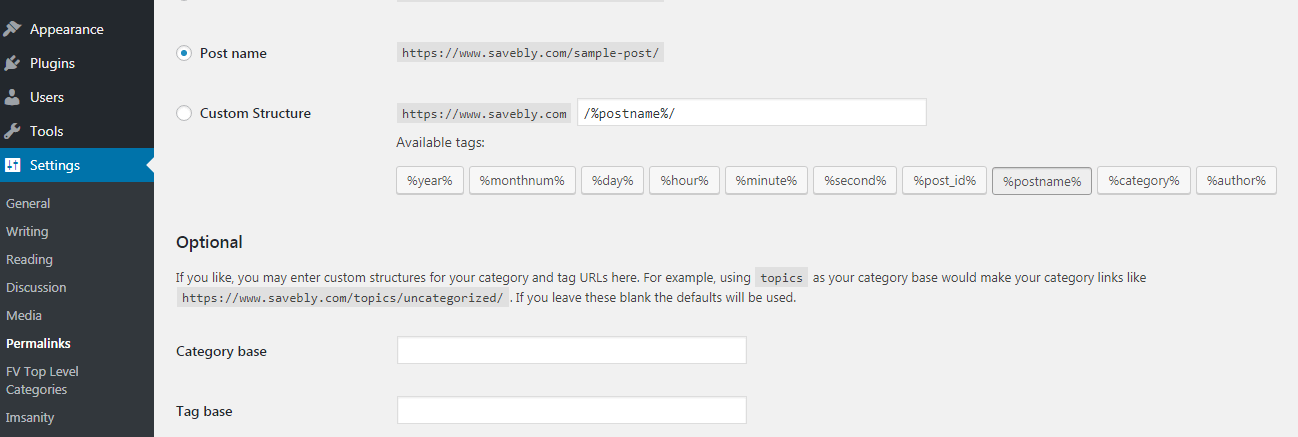
Setup your Link Structure (Permalinks)
Go to Settings on your WordPress menu and select Permalinks. Click post name and hit save. (this makes your links easy to read and helps with SEO)
Setup your User Account
I recommend adding a new user, which will be your new admin account, fill out the info, select show password, set your password, and set the user role as administrator and save.
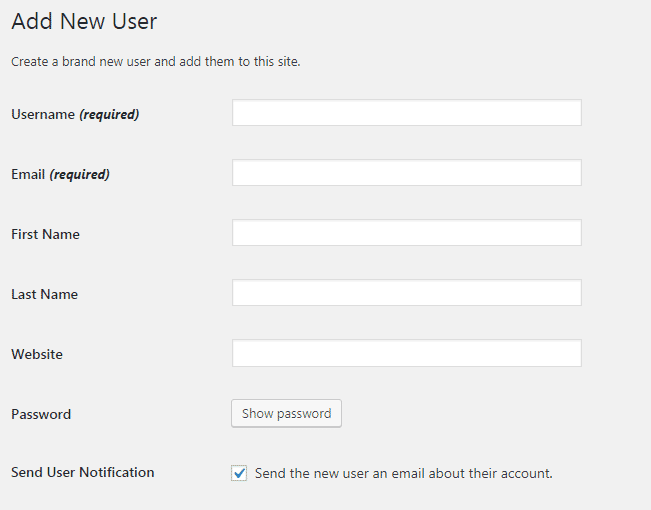
Then delete the default admin account, so there is only one admin account, yours.
The admin login page for your WordPress site is *your website*/wp-admin.
Set your Time Zone

Go to settings, then general, and set the correct timezone.
Set User Registration

I recommend disabling this for now until you need it.
Choose a Theme
Go to appearance then themes, click add new, install your desired theme, and activate it.
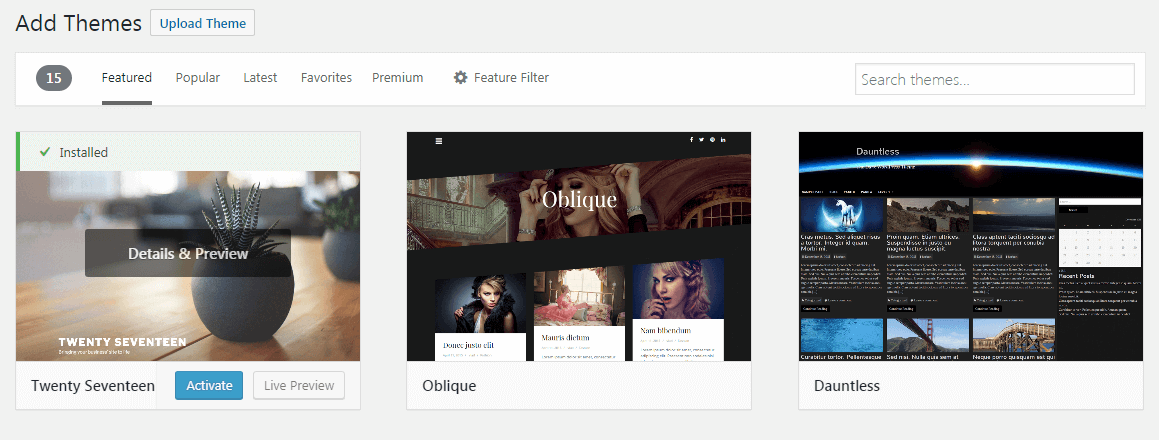
I do recommend getting a premium theme like Kadence, which is what I use on my site.
The great thing about the Kadence theme is that it’s free to use but I recommend getting the pro bundle which offers much more features and it only costs $59. There is also the essential bundle for $129 with more features and the lifetime bundle for $199 with all the features and access to future features.
The Kadence theme is super fast and secure, and it is highly customizable and easy to use.
If the Kadence theme is not right for you, then I recommend looking into GeneratePress, Astra, or Nieve.
I got
You can start on a free theme and move to a premium theme later on but I decided to future-proof my website and start out on a premium theme. It is totally up to you.
Great! Now you have the basics set up… I know this is getting long, but definitely worth it, so let’s keep on going.
Popular Plugins
These are some of the most recommended WordPress plugins to use so you can maintain and optimize your website like the pros.
Let’s get started:
UpdraftPlus
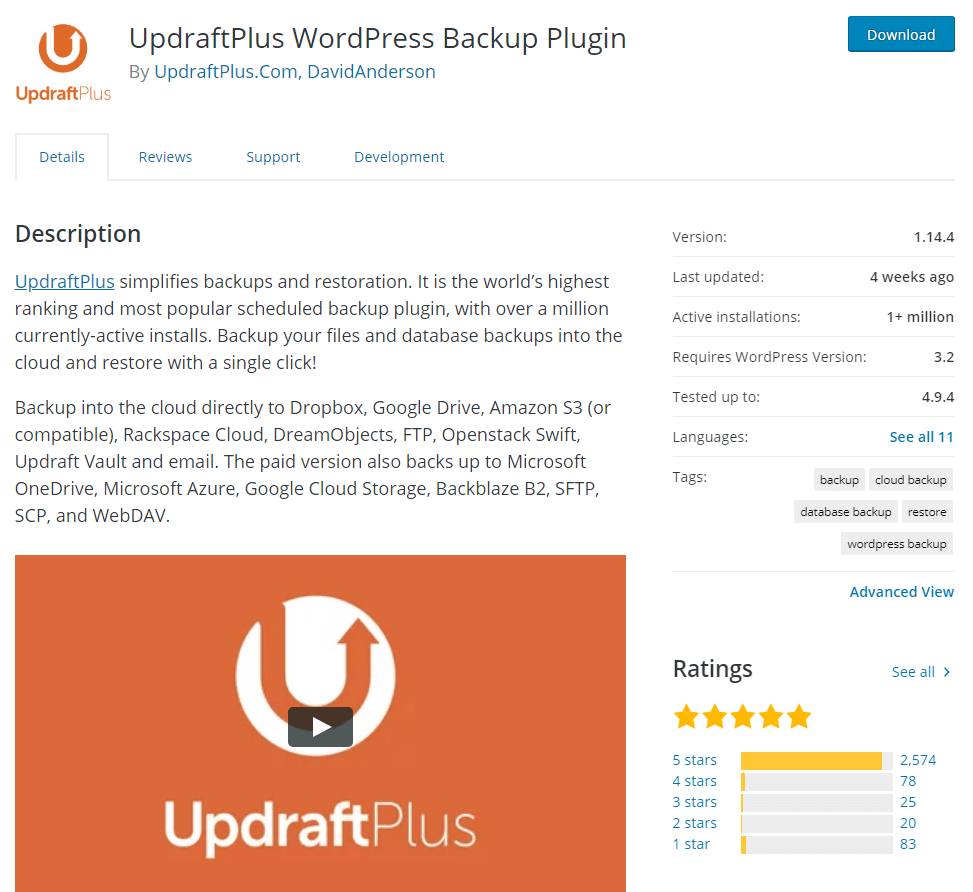
The first plugin I recommend before getting anything else is a backup plugin.
I use UpdraftPlus, and it has been working beautifully, also, it is 100% free.
It allows you to back up your site to cloud platforms such as Dropbox, Google Drive, etc… set on a schedule or run manually.
You can restore from backup with the click of a button.
I recommend running backups at least once a week and after any major change to your site.
Also, I recommend running a manual backup before updating WordPress, theme, or any plugins.
UpdraftPlus has a premium version with more features if you need them in the future.
If UpdraftPlus isn’t for you, some free alternatives are BackWPup and BackUpWordpress.
Wordfence Security
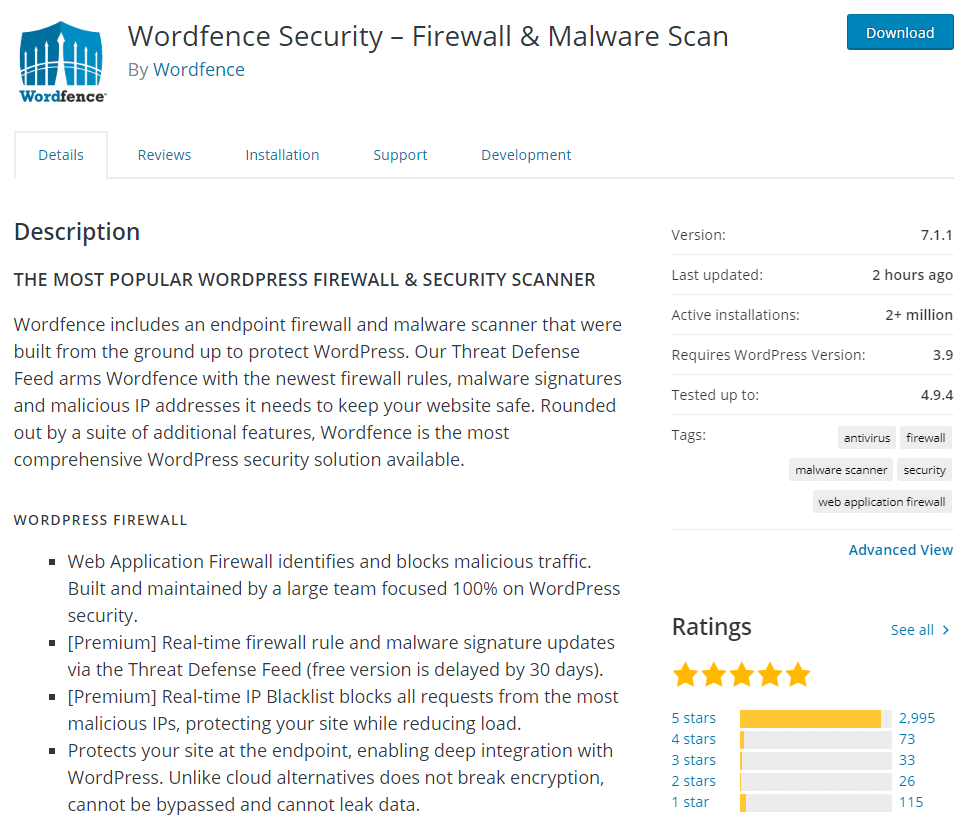
Wordfence is a free security plugin for your WordPress site to protect against malicious attacks.
Free alternatives are iThemes security and Bulletproof security.
WP Fastest Cache
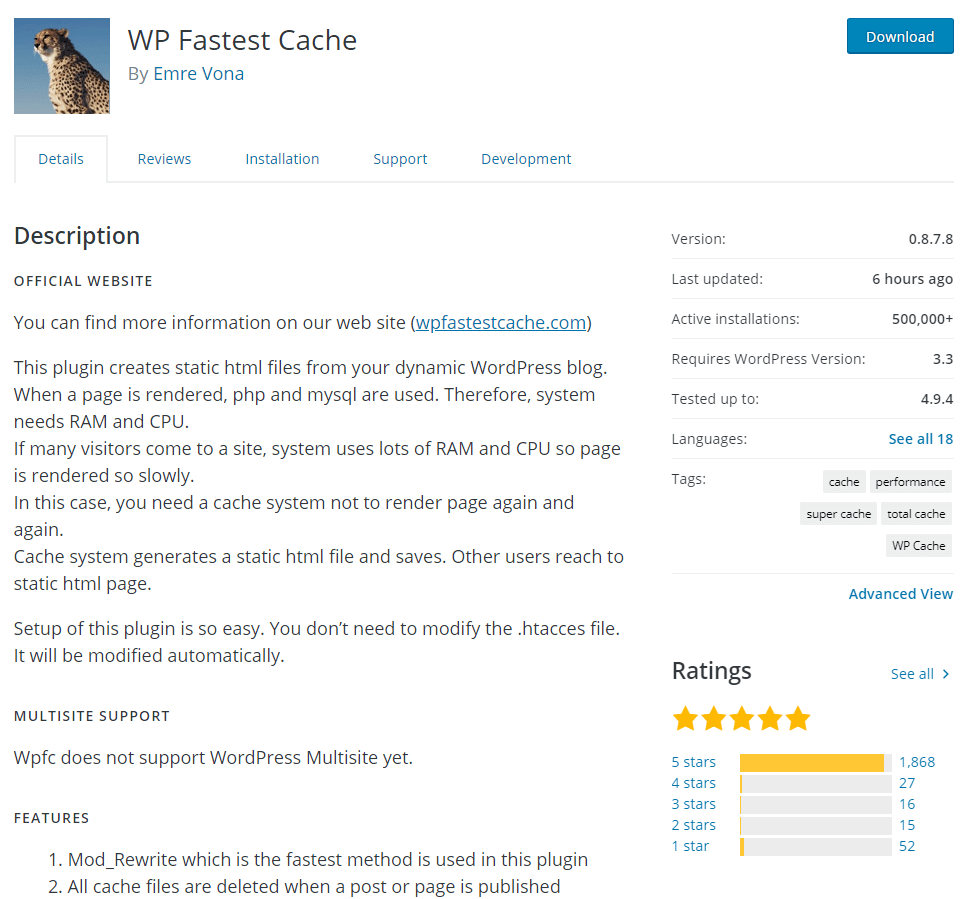
WP Fastest Cache is a free plugin that optimizes your website so it can perform faster.
It is completely free and does all the work for you!
Free alternatives are W3 total cache and WP Super Cache.
WP-Optimize
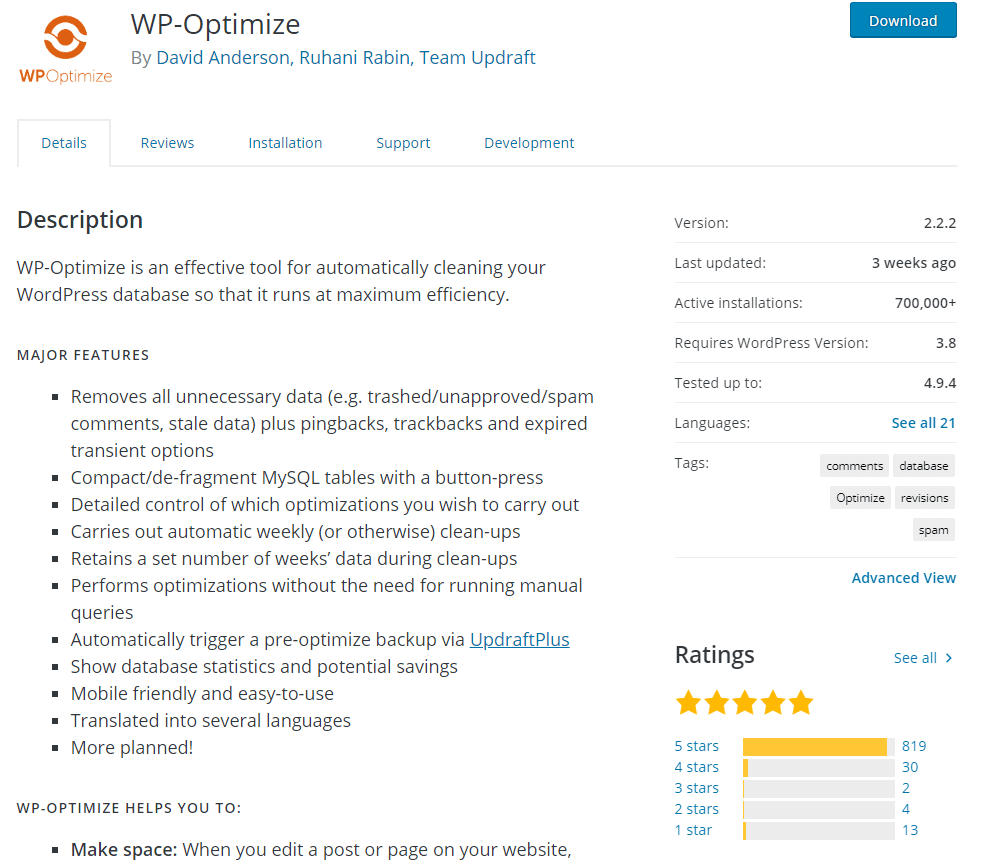
WP-Optimize is a free database cleanup tool that cleans up old unused files to increase your website’s performance.
Free alternatives are Advanced Database Cleaner and WP-DBmanager.
Be very careful with database tools, they can break your site, so please run a backup of your site before installing database plugins and keep the defaults unless you know what you are doing.
Coming Soon Plugin
You just created your site, and you have a lot of work to do before it is open to the public.
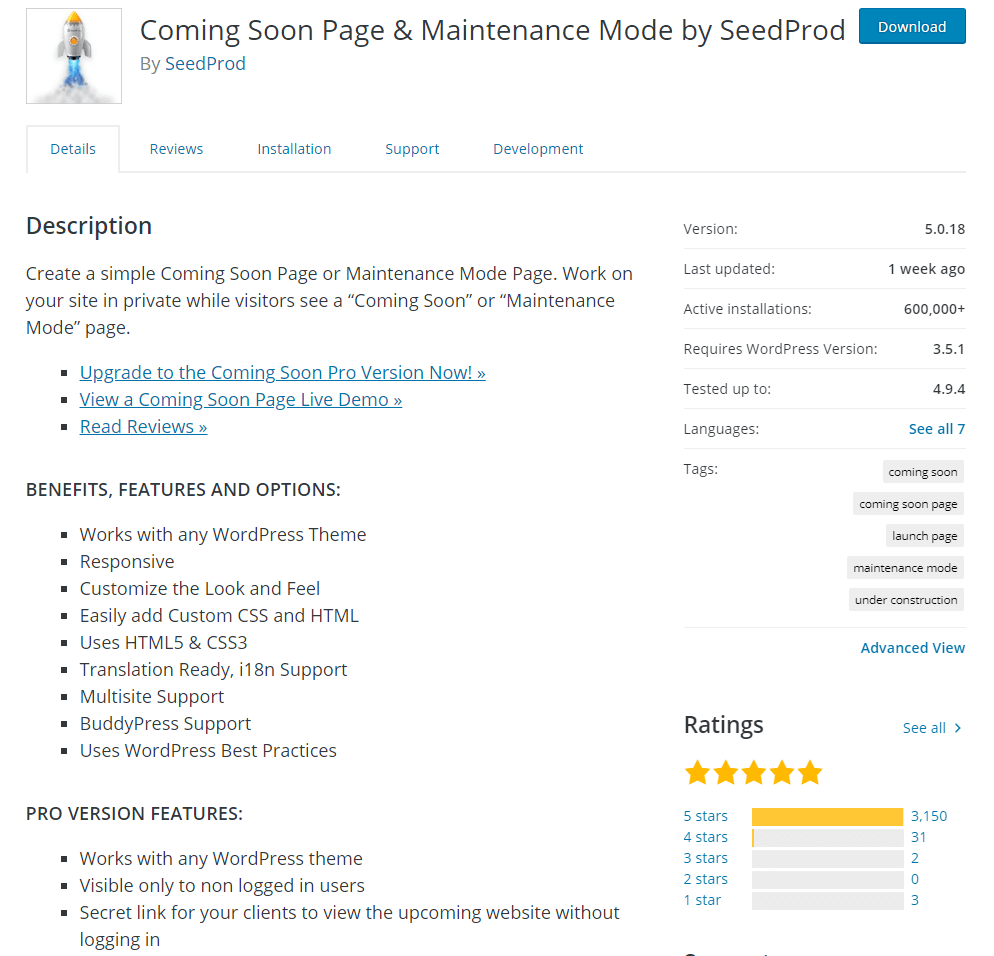
So you might want a coming soon page, and using this Coming Soon plugin is the best way to do so.
If you use Bluehost, you will have the option to use the Bluehost coming soon page in Settings, under general, and if you scroll all the way to the bottom, you will see it.
When enabled, visitors will see this screen when they visit your site:
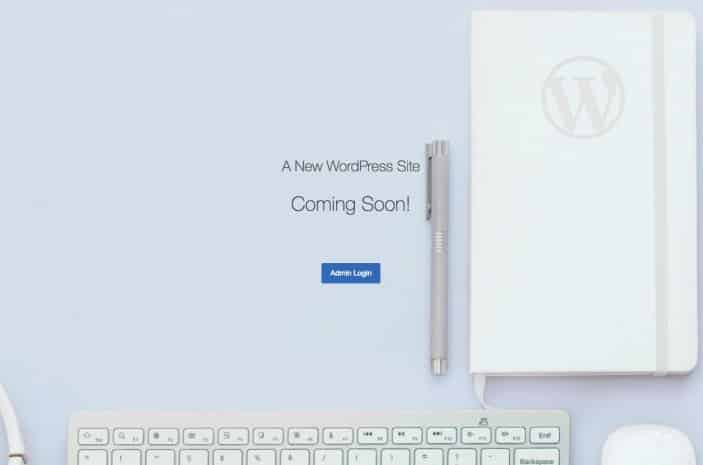
This isn’t an appealing coming soon page and isn’t even customizable.
Luckily, the Coming Soon plugin gives you full control to design the coming soon page or maintenance page if you need to update your site.
WP Smush
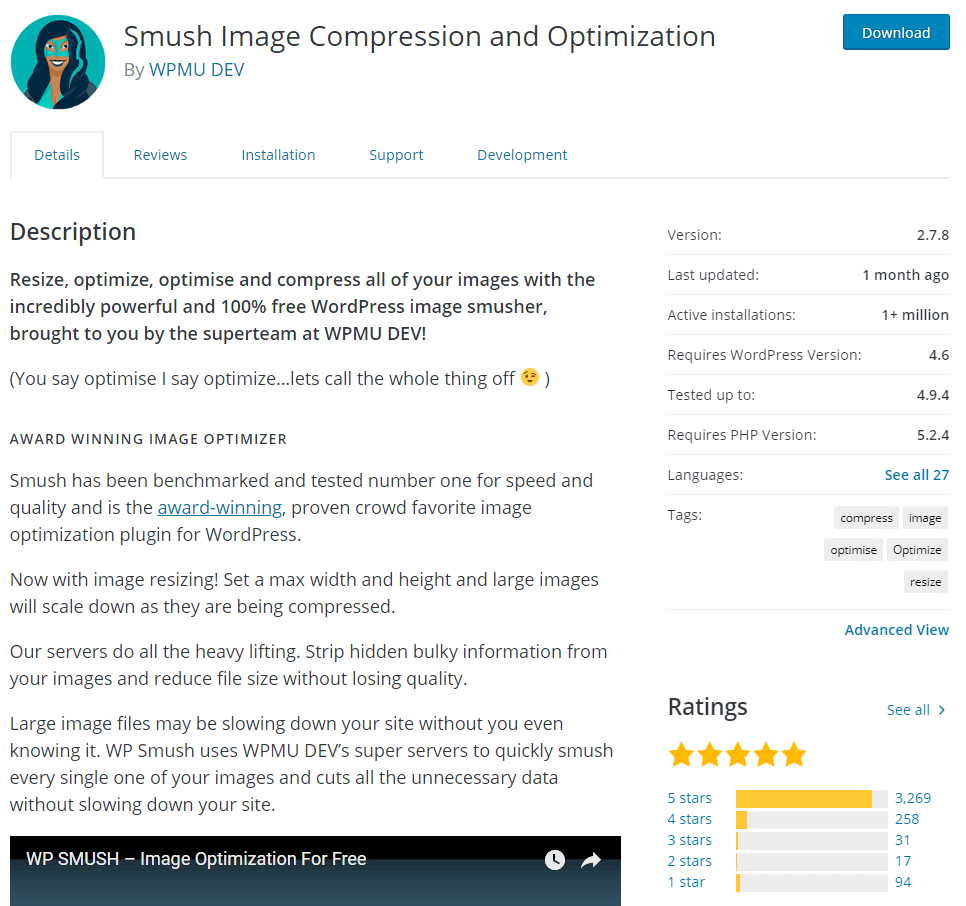
WP Smush is a plugin that compresses your images to a smaller size without losing quality.
This makes your site load faster, thus increasing performance for free!
Free alternatives are EWWW Image Optimizer and ShortPixel.
Bonus: I advise compressing images with a site like TinyJPG first, then uploading the image to WordPress to be compressed by one of these image compression plugins so your image can be smaller without quality loss which further increases performance!
Yoast SEO
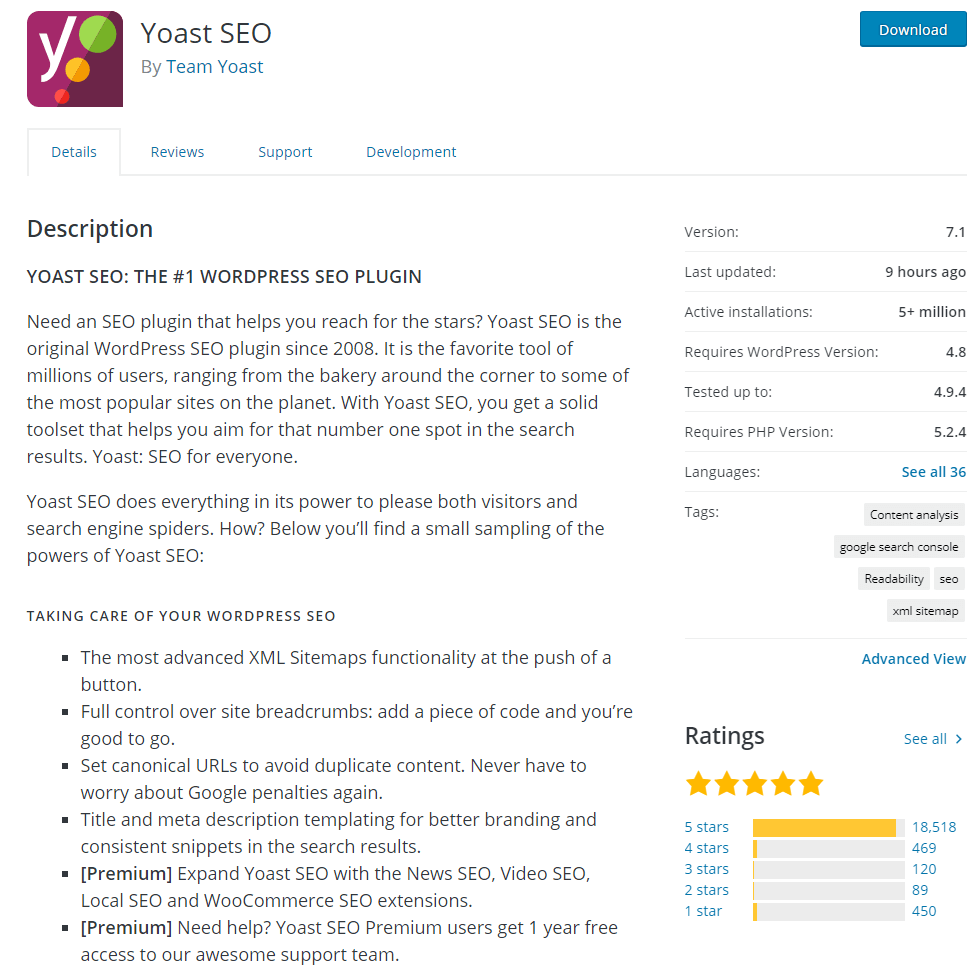
Yoast SEO is a free advanced plugin used for SEO to help your blog posts rank higher on search engines such as Google.
This plugin allows you to set keywords for your website and tells you when something needs to be corrected so your website can rank higher on search engines.
Another popular free alternative is All In One SEO.
SEO plugins do have some advanced features, so, please do your research on SEO tactics. Luckily I have some tips for you below, so stick with me.
There you go! Some of the top plugins to use for your site are to get it optimized and ready to take on the world.
Theme Customizing
Now for theme customization, go to appearance and choose to customize then, you will see your theme and the menus to customize.
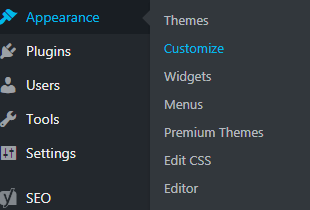
Play around and change things to your liking. If you are confused, do your research. Learn and create, and you will be great.
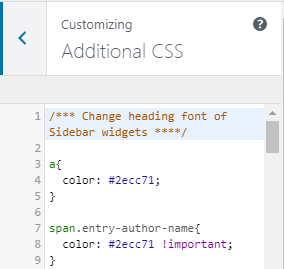
Themes do have limitations on what you can customize, that’s why you should learn a bit of CSS code, and no, you don’t have to be an expert coder, just some simple code.
This can be found under appearance, then customization, and when you scroll down, you will see the option for Additional CSS.
Mail Subscription
Now that you have your website or blog all set up, you need to start getting some traffic, and email is still one of the best ways to do so.
If you are setting up a blog you will be able to notify your readers when you release new blog posts, market your courses if you have any or any products you release.
As a business, an email list will give you the power to market products or services, and promotions and stay in touch with your customers.
So, where do you start?
There are many email subscription companies such as MailChimp and ConvertKit but they can get pretty expensive really fast.
For example, ConvertKit starts at $29 a month. Which may be too expensive when you are just starting out, it definitely was for me!
ConvertKit is a very powerful platform, though, and works great for email subscriptions, so if you can afford it, then it might be the option for you.
MailChimp has a free plan which gives you up to 2,000 subscribers and 12,000 emails a month but they have a strict policy on affiliate links that may get you banned and you only get 30 days of support.
So, I steered away from that, and I went with MailerLite.
They are kind of the new kids on the block, but they offer a free plan that gives you up to 1,000 subscribers and 12,000 emails a month!
Also, MailerLite gives you most of its features in the free plan.
Sign up for MailerLite’s free plan here.
Awesome Features
MailerLite has some awesome features, and here are some:
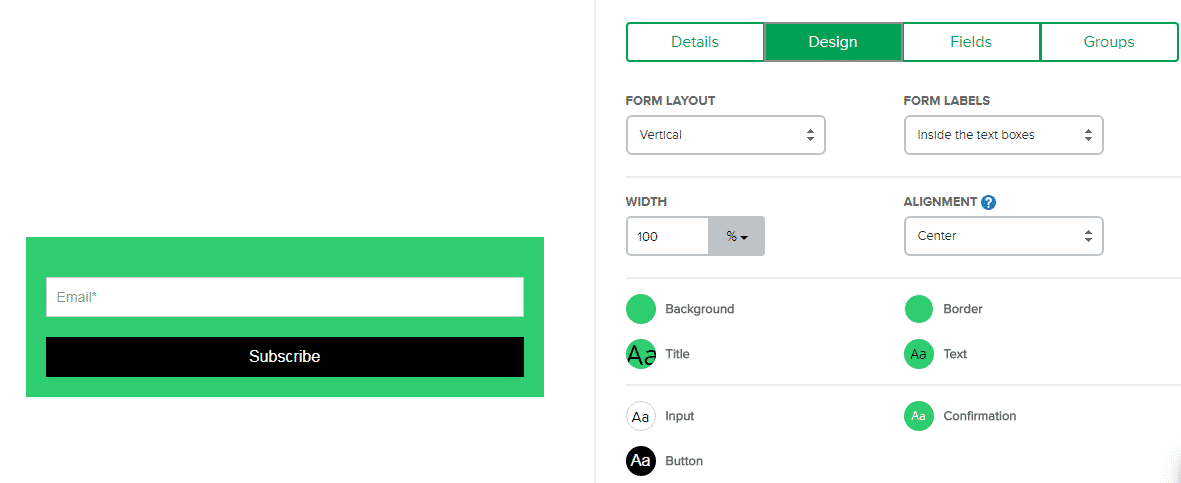
- Very simple and easy to use editor for customizable forms.
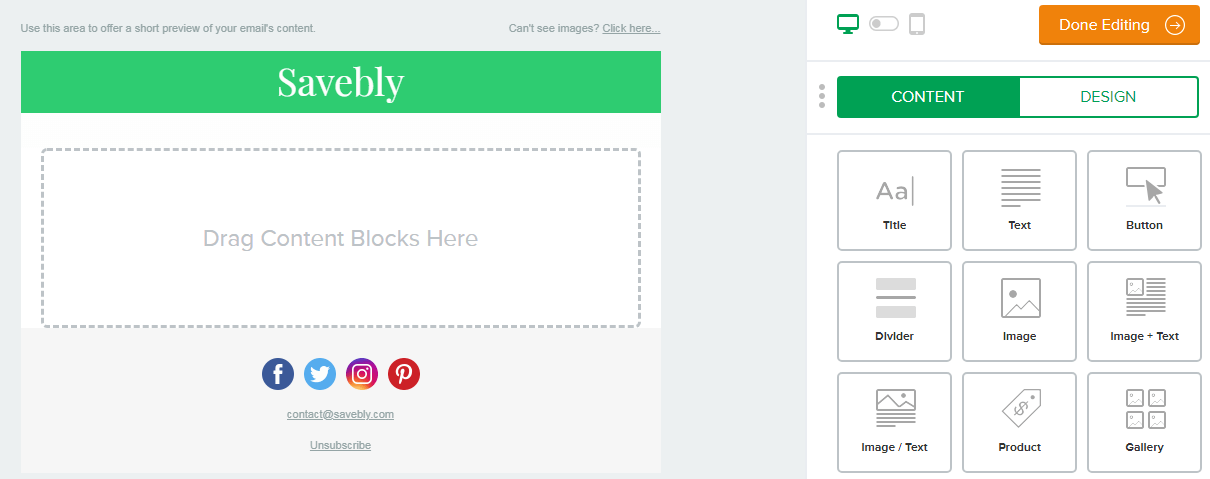
- Highly customizable email campaigns with drag and drop editor.
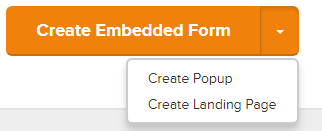
- Pop-up forms, embedded forms, and landing pages are all included.
- Auto emails options.
MailerLite has all the features you need when just starting out and remember its absolutely free for up to 1,000 subscribers.
Get started with MailerLite to grow your email list and grow your audience!
Bonus Tips
Great! everything is set up, and you are ready to work on your site to show it to the world.
Here are some tips for building your site like a pro. Please do your research on each topic.
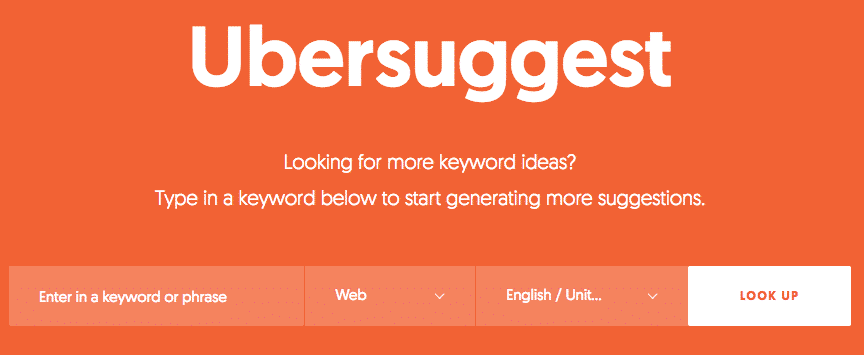
- Choosing the Focus keyword for your post or page (make sure it is not a highly competitive keyword, use Neil Patel’s Ubersuggest to research keywords and find the right ones to use).
- Place LSI keywords in your blog post (words that relate to your keyword).
- Use easy-to-read fonts, especially for your paragraph font (I use Roboto).
- Use spacing in your blog posts to break up the text so it is easier to read.
- Also, place images and videos in your blog post to capture and keep the reader’s attention.
- Use Canva to build infographics and custom pictures for your website.
- Develop a social following on social media sites like Facebook, Instagram, Twitter, etc…
- Use Pingdom and GTmetrix to test your website speed, they also provide fixes to make your site perform better. Please do your research before implementing any of these fixes!
- You can use a blog topic generator for ideas if you ever get those “I don’t know what to write about” moments.
- Take time to learn how to write catchy headlines for your post or article.
As said before please do your research on each of these topics, some of these can get really in depth but they will make your website or blog truly awesome!
And…
Most importantly, if you are building a blog, then write amazing content! You need to provide unique, helpful, and engaging content to your readers.
Write thorough posts that will leave your readers satisfied and then they will want to come back!
If you are building a website, then make it user-friendly. Make it so customers will have a good experience using your website to shop for products or services.
Use these tips in this post to make your website rank in Google so your business will gain customers from an online audience!
Conclusion
That’s all for this In-Depth blogging for beginners guide!
Also with some of the top tips and tricks used so you can build your website and make it effective and efficient.
Remember to use my Bluehost link to get your website with a free domain name for just $3.95 a month!
Also, sign up for your free MailerLite plan here.
Starting a website is pretty easy but making it a brand that people want to follow and pay attention to requires a lot of hard work.
It may take a year or two before you see high traffic and engagement on your website and social media platforms but don’t give up.
Use these tips in this post to show your website to the world and amass a large following.
I know this was a massive post, so if you weren’t able to get through all of it in one sitting, I definitely understand.
But…
I promise you that these tips will help you greatly so bookmark this page and come back to it later. You can also contact me with any questions you may have.
Stay persistent, keep producing amazing content, and the audience will come.
Most importantly, Take action now!
If you like this post then I recommend checking out my posts on Best Ways To Make Passive Income and How To Make 1000 Dollars Fast.
Let me know what questions about blogging you have in the comments below!






Thank you for your article on Best Guide On Blogging For Beginners
Thanks for reading!